This is a setup guide for getting Angular and Angular Material working on your local environment. Please note, the settings presented will only be suitable for a local environment. The guide will be split into different sections that include:
- NodeJS and Node Package Manager (npm)
- Angular CLI and Angular project
- Angular Material
- (Optional) WebStorm Project Configurations
NodeJS and Node Package Manager (npm)
The first thing you will need is a version of NodeJS. This project will be developed with the latest Long-Term Support release 8.9.1. This package also comes with Node Package Manager (npm) version 5.5.1.
IMPORTANT: You must download the Source Code i.e. node-v8.9.1.tar.gz.
| REFERENCES |
|---|
| More information about NodeJS can be found within their guides. |
| More information about npm can be found within their documentations. |
| [1]: https://www.digitalocean.com/community/tutorials/how-to-use-npm-to-manage-node-js-packages-on-a-linux-serverHow To Use npm to Manage Node.js Packages on a Linux Server |
Please note, most recommendations online are to install NodeJS via the package manager of your Linux distribution. However, this is not recommended in this case as we required a specific release version.
This guide will be most relevant for those using a Debian- or Ubuntu-based distribution such as Linux Mint or Ubuntu. If you are using another Linux distribution, please consult your relevant documentations or online support community for help.
Build from source
BASH Shell
$ wget -c https://nodejs.org/dist/v$ver/node-v$ver.tar.gz
$ tar -xzf node-v$ver.tar.gz
$ cd node-v$ver
$ ./configure --prefix=/opt/node && make -j 2 && sudo make install
Check you had node and npm installed
BASH Shell
$ node -v
v8.9.1
$ npm -v
5.5.1
Fix npm global permissions
| REFERENCES |
|---|
| [2]: https://docs.npmjs.com/getting-started/fixing-npm-permissions/ "Fixing npm permissions" |
Local vs Global Packages
There are two ways to install npm packages: locally or globally. You choose which kind of installation to use based on how you want to use the package.
If you want to use it as a command line tool, something like the grunt CLI, then you want to install it globally. On the other hand, if you want to depend on the package from your own module using something like Node's require, then you want to install locally.
To download packages globally, you simply use the command npm install -g <package>.
You may receive an EACCES error when you try to install a package globally. This indicates that you do not have permission to write to the directories that npm uses to store global packages and commands.
You can fix this problem using one of three options:
- Change the permission to npm's default directory.
- Change npm's default directory to another directory.
Option 1:
$ npm config get prefix
/opt/node
$ sudo chown -R $(whoami) $(npm config get prefix)/{lib/node_modules,bin,share}
This changes the permissions of the sub-folders used by npm and some other tools (lib/node_modules, bin, and share).
Option 2:
$ mkdir ~/.npm-global
$ npm config set prefix '~/.npm-global'
$ echo 'export PATH=~/.npm-global/bin:$PATH' >> ~/.bashrc
$ source ~/.bashrc
Angular CLI and Angular project
| REFERENCES |
|---|
| [1]: https://angular.io/guide/quickstart "Angular Quickstart Guide" |
| [2]: https://cli.angular.io/ "Angular CLI" |
| [3]: https://github.com/angular/angular-cli "Angular CLI GitHub" |
| [4]: https://angular.io/guide/npm-packages#!#feature-packages "Angular Npm packages" |
Step 1. Set up the Development Environment
Install Node.js and npm if they are not already on your machine.
NOTE: Verify that you are running at least node 6.9.x and npm 3.x.x by running node -v and npm -v in a terminal/console window. Older versions produce errors, but newer versions are fine.
Open up you Node.js Command Prompt
Install the Angular CLI globally.
Node.js command prompt
$ npm install -g @angular/cli
Step 2. Create a new project
Generate a new project and skeleton application by running the following commands:
Node.js command prompt
$ ng new angular-material-heroes
...
Installing packages for tooling via npm.
Installed packages for tooling via npm.
Project 'angular-material-heroes-boilerplate' successfully created.
NOTE: This will create a directory
Step 3: Serve the application
Go to the project directory and launch the server.
Node.js command prompt
$ cd angular-material-heroes
$ ng serve --open

** NG Live Development Server is listening on localhost:4201, open your browser on http://localhost:4201/ **
 10% building modules 6/8 modules 2 active ...rver\client\index.js?http://0.0.0.0:0webpack: wait until bundle fDate: 2017-11-29T16:41:53.343Z
Hash: 8b906764dfcee4688983
Time: 16962ms
chunk {inline} inline.bundle.js (inline) 5.79 kB [entry] [rendered]
chunk {main} main.bundle.js (main) 21.5 kB [initial] [rendered]
chunk {polyfills} polyfills.bundle.js (polyfills) 557 kB [initial] [rendered]
chunk {styles} styles.bundle.js (styles) 34.2 kB [initial] [rendered]
chunk {vendor} vendor.bundle.js (vendor) 7.04 MB [initial] [rendered]

webpack: Compiled successfully.
NOTES:
- The
ng servecommand launches the server, watches your files, and rebuilds the app as you make changes to those files. - Using the
--open(or just-o) option will automatically open your browser onhttp://localhost:4200/. - You can configure the default HTTP host and port used by the development server with two command-line options:
ng serve --host 0.0.0.0 --port 4201
Your app greets you with a message:
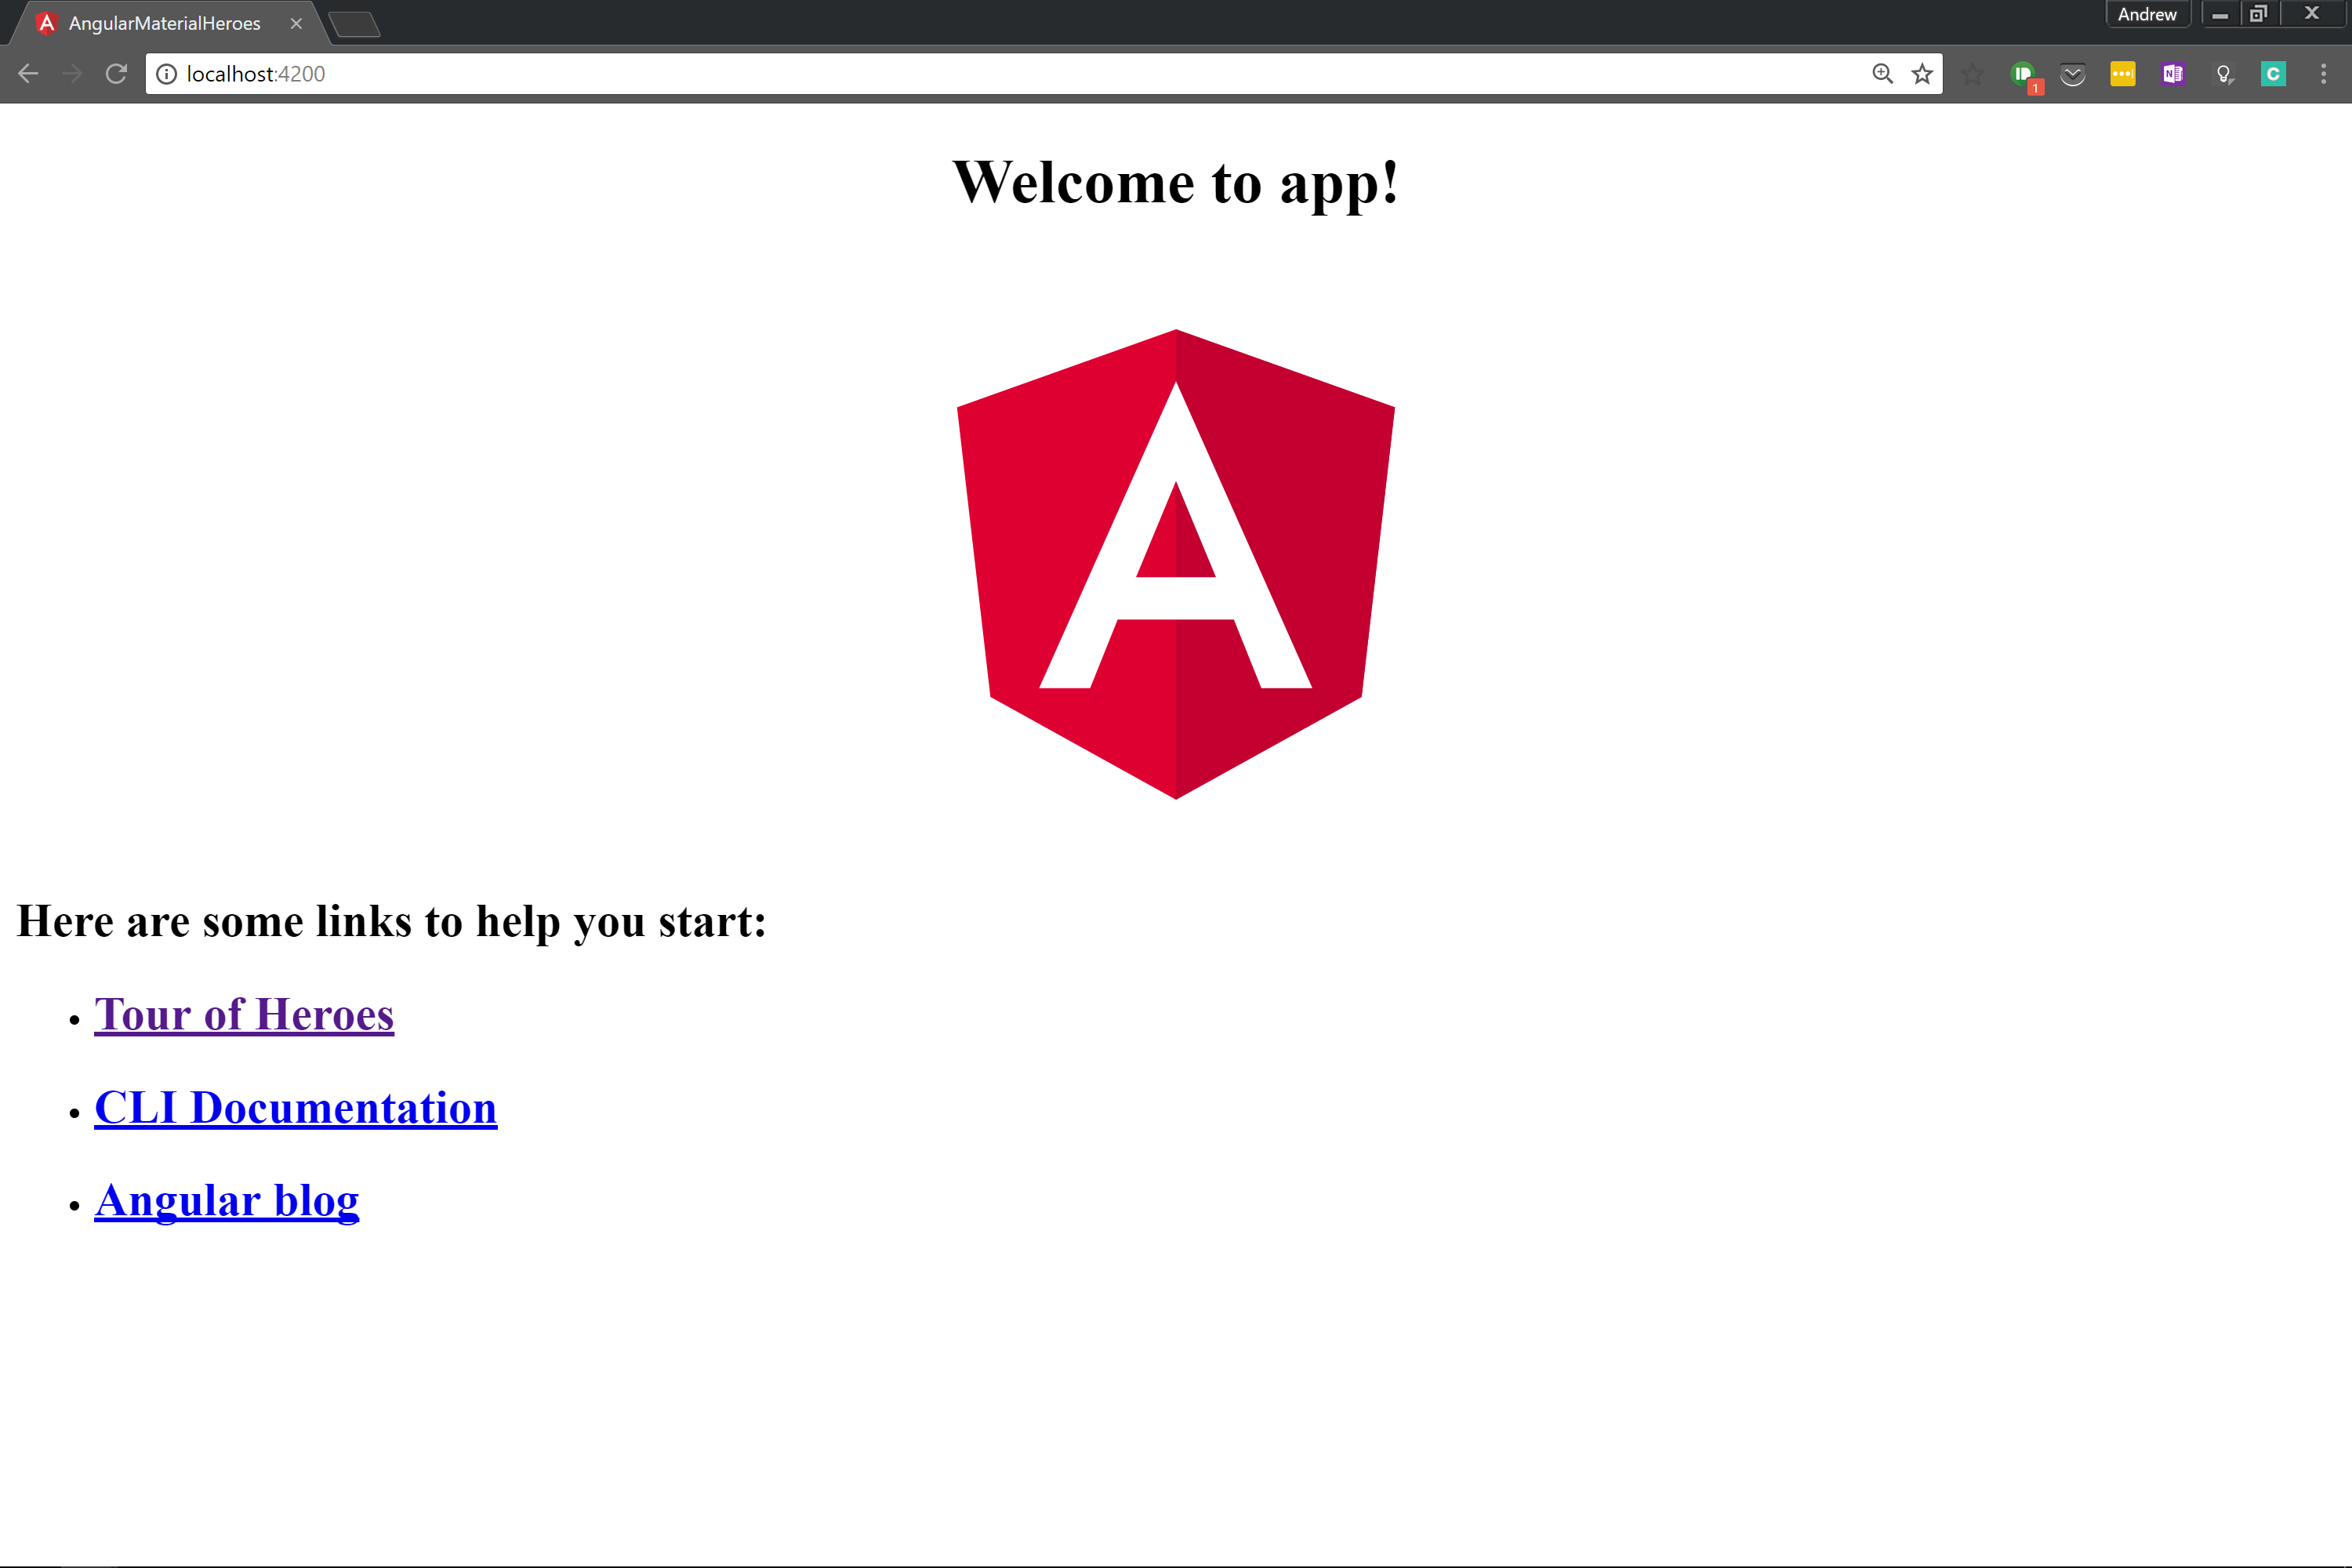
Angular CLI Common Commands
You can find all possible blueprints in the table below:
| Scaffold | Usage |
|---|---|
| Component | ng g component my-new-component |
| Directive | ng g directive my-new-directive |
| Pipe | ng g pipe my-new-pipe |
| Service | ng g service my-new-service |
| Class | ng g class my-new-class |
| Guard | ng g guard my-new-guard |
| Interface | ng g interface my-new-interface |
| Enum | ng g enum my-new-enum |
| Module | ng g module my-module |
Step 4: Edit your first Angular component
The CLI created the first Angular component for you. This is the root component and it is named app-root. You can find it in ./src/app/app.component.ts.
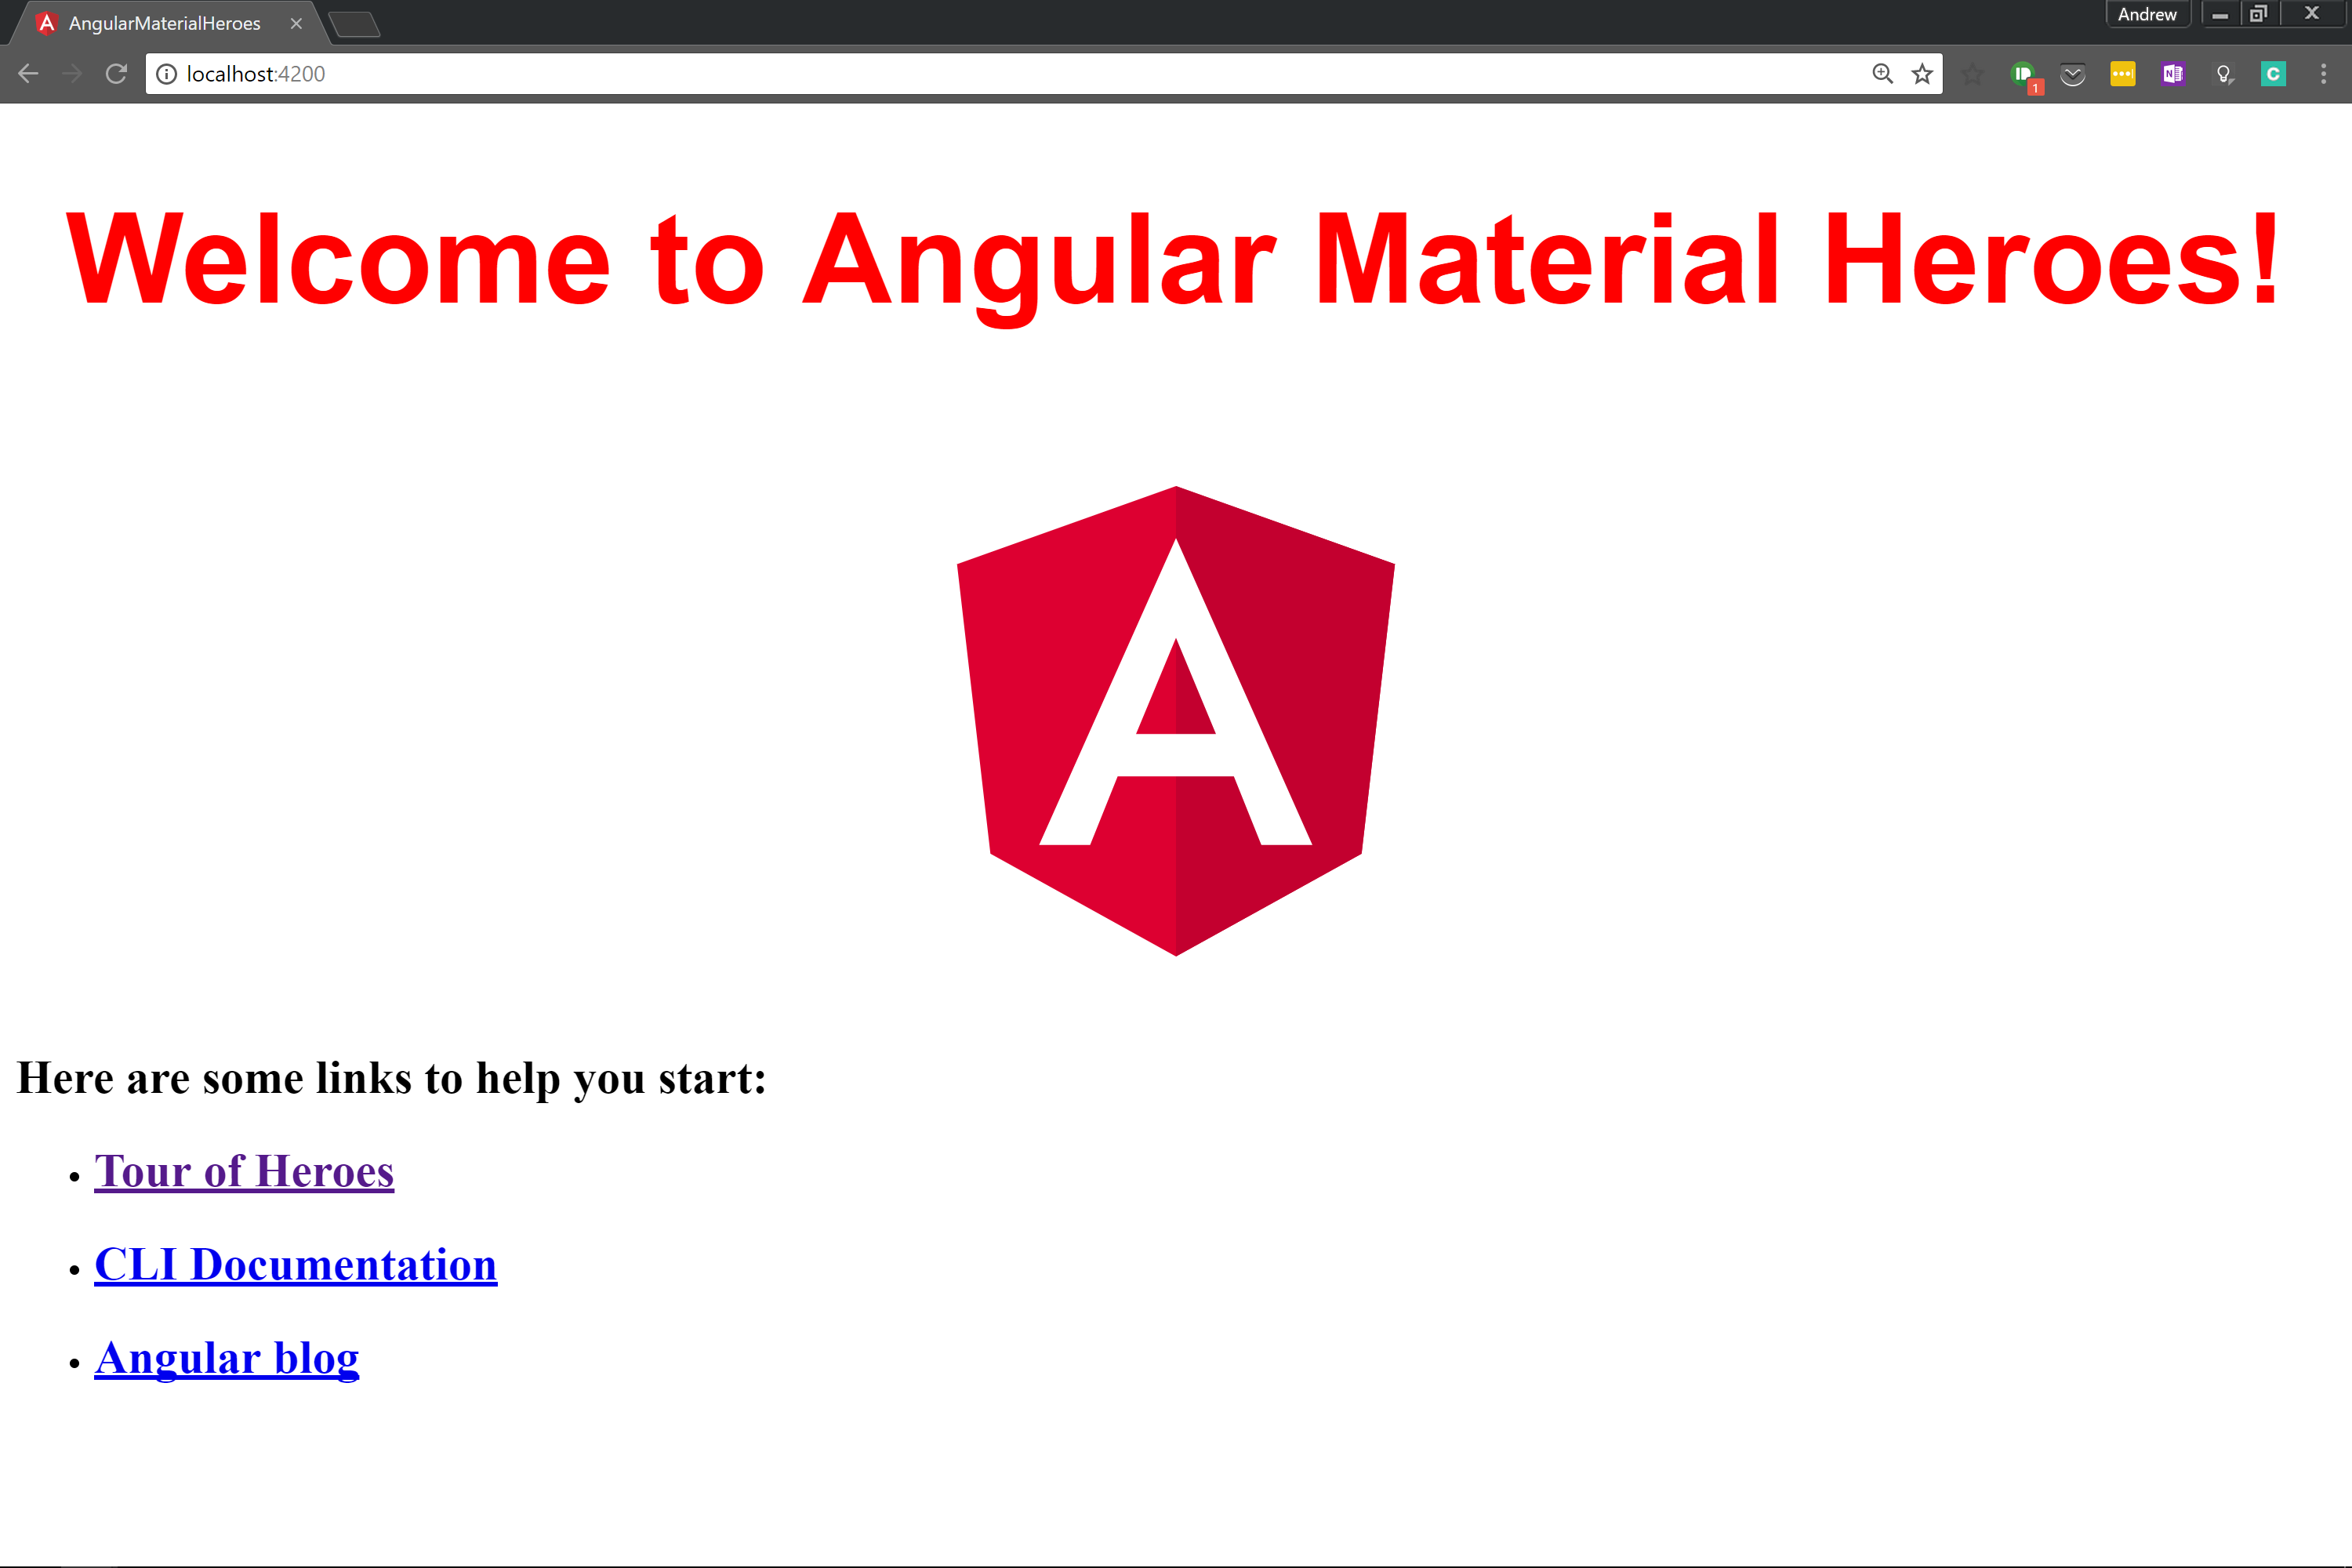
Open the component file and change the title property from Welcome to app!! to Welcome to Angular Material Heroes:
src/app/app.component.ts
export class AppComponent {
  title = 'Angular Material Heroes';
}
The browser reloads automatically with the revised title. That's nice, but it could look better.
Open src/app/app.component.css and give the component some style.
src/app/app.component.css
h1 {
  color: red;
  font-family: Arial, Helvetica, sans-serif;
  font-size: 400%;
}
Project file review
The first file you should check out is README.md. It has some basic information on how to use CLI commands. Whenever you want to know more about how Angular CLI works make sure to visit the Angular CLI repository and Wiki.
The src folder
Your app lives in the src folder. All Angular components, templates, styles, images, and anything else your app needs go here. Any files outside of this folder are meant to support building your app.
src
    ---| app
    ------| app.component.css
    ------| app.component.html
    ------| app.component.spec.ts
    ------| app.component.ts
    ------| app.module.ts
    ---| assets
    ------| .gitkeep
    --| environments
    ------| environment.prod.ts
    ------| environment.ts
    --| favicon.ico
    --| index.html
    --| main.ts
    --| polyfills.ts
    --| styles.css
    --| test.ts
    --| tsconfig.app.json
    --| tsconfig.spec.json
| File | Purpose | |
|---|---|---|
app/app.component.{ts,html,css,spec.ts} |
Defines the AppComponent along with an HTML template, CSS stylesheet, and a unit test. It is the root component of what will become a tree of nested components as the application evolves. |
|
app/app.module.ts |
Defines AppModule, the root module that tells Angular how to assemble the application. Right now it declares only the AppComponent. |
|
assets/* |
A folder where you can put images and anything else to be copied wholesale when you build your application. | |
environments/* |
This folder contains one file for each of your destination environments, each exporting simple configuration variables to use in your application. The files are replaced on-the-fly when you build your app. You might use a different API endpoint for development than you do for production or maybe different analytics tokens. | |
favicon.ico |
Every site wants to look good on the bookmark bar. Get started with your very own Angular icon. | |
index.html |
The main HTML page that is served when someone visits your site. Most of the time you'll never need to edit it. The CLI automatically adds all js and css files when building your app so you never need to add any <script> or <link> tags here manually. |
|
main.ts |
The main entry point for your app. Compiles the application with the JIT compiler and bootstraps the application's root module (AppModule) to run in the browser. You can also use the AOT compiler without changing any code by appending the--aot flag to the ng build and ng serve commands. |
|
polyfills.ts |
Different browsers have different levels of support of the web standards. Polyfills help normalize those differences. You should be pretty safe with core-js and zone.js, but be sure to check out the Browser Support guide for more information. |
|
styles.css |
Your global styles go here. Most of the time you'll want to have local styles in your components for easier maintenance, but styles that affect all of your app need to be in a central place. | |
test.ts |
This is the main entry point for your unit tests. It has some custom configuration that might be unfamiliar, but it's not something you'll need to edit. | |
| `tsconfig.[app | spec].json` | TypeScript compiler configuration for the Angular app (tsconfig.app.json) and for the unit tests (tsconfig.spec.json). |
The root folder
The src/ folder is just one of the items inside the project's root folder. Other files help you build, test, maintain, document, and deploy the app. These files go in the root folder next to src/.
angular-material-heroes
    ---| e2e
    ------| app.e2e-spec.ts
    ------| app.po.ts
    ------| tsconfig.e2e.json
    ---| node_modules/...
    ---| src/...
    ---| .angular-cli.json
    ---| .editorconfig
    ---| .gitignore
    ---| karma.conf.js
    ---| package.json
    ---| protractor.conf.js
    ---| README.md
    ---| tsconfig.json
    ---| tslint.json
| File | Purpose |
|---|---|
e2e/ |
Inside e2e/ live the end-to-end tests. They shouldn't be inside src/ because e2e tests are really a separate app that just so happens to test your main app. That's also why they have their own tsconfig.e2e.json. |
node_modules/ |
Node.js creates this folder and puts all third party modules listed in package.json inside of it. |
.angular-cli.json |
Configuration for Angular CLI. In this file you can set several defaults and also configure what files are included when your project is built. Check out the official documentation if you want to know more. |
.editorconfig |
Simple configuration for your editor to make sure everyone that uses your project has the same basic configuration. Most editors support an .editorconfig file. See http://editorconfig.org for more information. |
.gitignore |
Git configuration to make sure autogenerated files are not commited to source control. |
karma.conf.js |
Unit test configuration for the Karma test runner, used when running ng test. |
package.json |
npm configuration listing the third party packages your project uses. You can also add your own custom scriptshere. |
protractor.conf.js |
End-to-end test configuration for Protractor, used when running ng e2e. |
README.md |
Basic documentation for your project, pre-filled with CLI command information. Make sure to enhance it with project documentation so that anyone checking out the repo can build your app! |
tsconfig.json |
TypeScript compiler configuration for your IDE to pick up and give you helpful tooling. |
tslint.json |
Linting configuration for TSLint together with Codelyzer, used when running ng lint. Linting helps keep your code style consistent. |
Angular Material
| REFERENCES |
|---|
| [1]: https://material.angular.io/guide/getting-started "Angular Material Getting Started" |
| [2]: https://material.io/guidelines/ "Material Design Guidelines" |
For existing apps, follow these steps to begin using Angular Material.
Step 1: Install Angular Material and Angular CDK
BASH Shell
$ npm install --save @angular/material @angular/cdk
Step 2: Animations
Some Material components depend on the Angular animations module in order to be able to do more advanced transitions. If you want these animations to work in your app, you have to install the @angular/animations module and include the BrowserAnimationsModule in your app.
BASH Shell
$ npm install --save @angular/animations
Note: @angular/animations uses the WebAnimation API that isn't supported by all browsers yet. If you want to support Material component animations in these browsers, you'll have to include a polyfill.
NOTE: Any component { component_name }.module.ts file
import {BrowserAnimationsModule} from '@angular/platform-browser/animations';

@NgModule({
  ...
  imports: [BrowserAnimationsModule],
  ...
})
export class PizzaPartyAppModule { }
If you don't want to add another dependency to your project, you can use the NoopAnimationsModule.
NOTE: Any component { component_name }.module.ts file
import {NoopAnimationsModule} from '@angular/platform-browser/animations';

@NgModule({
  ...
  imports: [NoopAnimationsModule],
  ...
})
export class PizzaPartyAppModule { }
Step 3: Import the component modules
Import the NgModule for each component you want to use:
NOTE: Any component { component_name }.module.ts file
import {MatButtonModule, MatCheckboxModule} from '@angular/material';

@NgModule({
  ...
  imports: [MatButtonModule, MatCheckboxModule],
  ...
})
export class PizzaPartyAppModule { }
Alternatively, you can create a separate NgModule that imports all of the Angular Material components that you will use in your application. You can then include this module wherever you'd like to use the components.
import {MatButtonModule, MatCheckboxModule} from '@angular/material';

@NgModule({
  imports: [MatButtonModule, MatCheckboxModule],
  exports: [MatButtonModule, MatCheckboxModule],
})
export class MyOwnCustomMaterialModule { }
Whichever approach you use, be sure to import the Angular Material modules after Angular'sBrowserModule, as the import order matters for NgModules.
Step 4: Include a theme
Angular Material comes prepackaged with several pre-built theme css files. These theme files also include all of the styles for core (styles common to all components), so you only have to include a single css file for Angular Material in your app.
You can include a theme file directly into your application from @angular/material/prebuilt-themes
Available pre-built themes:
deeppurple-amber.cssindigo-pink.csspink-bluegrey.csspurple-green.css
If you're using Angular CLI, this is as simple as including one line in your styles.css file:
@import '~@angular/material/prebuilt-themes/deeppurple-amber.css';
Alternatively, you can just reference the file directly. This would look something like:
<link href="node_modules/@angular/material/prebuilt-themes/indigo-pink.css" rel="stylesheet">
The actual path will depend on your server setup.
You can also concatenate the file with the rest of your application's css.
Finally, if your app's content is not placed inside of a mat-sidenav-container element, you need to add the mat-app-background class to your wrapper element (for example the body). This ensures that the proper theme background is applied to your page.
For more information on theming and instructions on how to create a custom theme, see the theming guide.
Step 5: Gesture Support
Some components (mat-slide-toggle, mat-slider, matTooltip) rely on HammerJS for gestures. In order to get the full feature-set of these components, HammerJS must be loaded into the application.
You can add HammerJS to your application via npm, a CDN (such as the Google CDN), or served directly from your app.
To install via npm, use the following command:
BASH Shell
$ npm install --save hammerjs
After installing, import it on your app's entry point (e.g. src/main.ts).
src/main.ts
import 'hammerjs';
...
Step 6 (Optional): Add Material Icons
If you want to use the mat-icon component with the official Material Design Icons, load the icon font in your index.html.
src/index.html
<head>
  ...
  <link href="https://fonts.googleapis.com/icon?family=Material+Icons" rel="stylesheet">
  ...
</head>
For more information on using Material Icons, check out the Material Icons Guide.
Note that mat-icon supports any font or svg icons; using Material Icons is one of many options.
Appendix: Configuring SystemJS
If your project is using SystemJS for module loading, you will need to add @angular/material and@angular/cdk to the SystemJS configuration.
The @angular/cdk package is organized of multiple entry-points. Each of these entry-points must be registered individually with SystemJS.
Here is a example configuration where @angular/material, @angular/cdk/platform and@angular/cdk/a11y are used:
System.config({
  // Existing configuration options
  map: {
    // ...
    '@angular/material': 'npm:@angular/material/bundles/material.umd.js',

    // CDK individual packages
    '@angular/cdk/platform': 'npm:@angular/cdk/bundles/cdk-platform.umd.js',
    '@angular/cdk/a11y': 'npm:@angular/cdk/bundles/cdk-a11y.umd.js',
    // ...
  }
});
(Optional) JetBrains WebStorm Project Configurations
| REFERENCES |
|---|
| [1]: https://www.jetbrains.com/help/webstorm/angular.html "WebStorm 2017.3 Help Angular" |
| [2]: https://blog.jetbrains.com/webstorm/2016/04/angular-2-workflow-in-webstorm/ "Angular workflow in WebStorm" |
| [3]: https://blog.jetbrains.com/webstorm/2017/01/debugging-angular-apps/ "Debugging Angular Apps" |
| [4]: https://blog.jetbrains.com/webstorm/2017/02/your-first-unit-test-using-angular-cli-karma-and-webstorm/ "Your First Unit Test Using Angular CLI, Karma, and WebStorm" |
| [5]: https://blog.jetbrains.com/webstorm/2017/09/debugging-node-js-apps-in-webstorm/ "Debugging NodeJS Apps in WebStorm" |
Please note your WebStorm will not look the same as the images presented below. This is because WebStorm allows you change themes (as do most other editors) and I currently use a dark Material theme UI downloaded via plugin.
Step 1. Create a new project
When you first open WebStorm without having started a project previously, you will be greeted with this dialog.
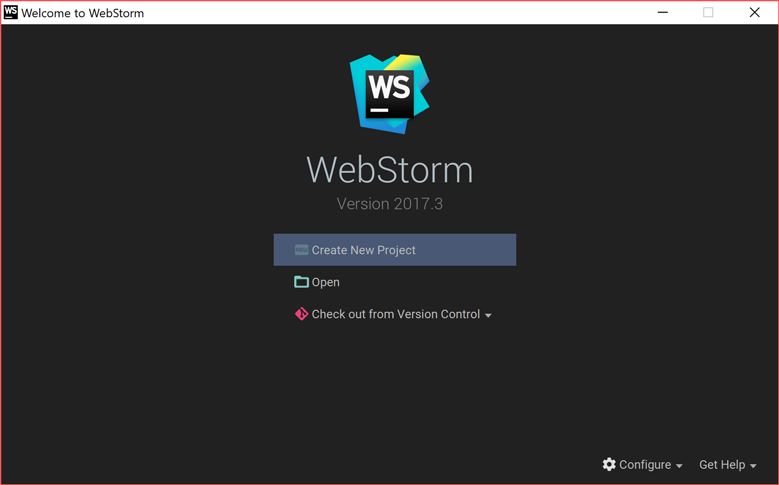
Select Create New Project even if you are importing an existing project like we are here. Optionally, you can also create the project by Chech out from Version Control.
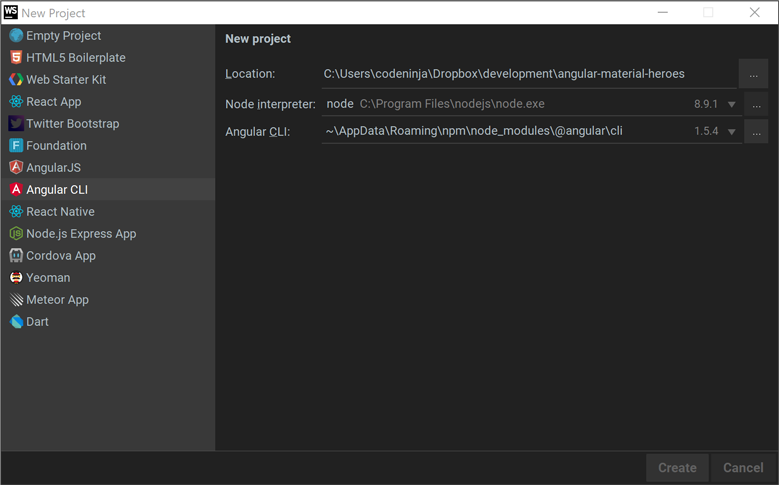
Follow this:
- Select
Angular CLIfrom the options on the left menu. - Select the
Location:by browsing to the directory where Angular CLI created the project. - Select your
Node interpreter:. On most Windows systems, if installed through with an executable, it can be found atC:\Program Files\nodejs\node.exe. - Select the location of
Angular CLIin your system. If installed globally with npm, it can be found atC:\Users\user\AppData\Roaming\npm\node_modules\@angular\cli. - WebStorm will prompt with the message
The directory ... is not empty. Would you like to create a project from existing sources instead?. SelectYes. - WebStorm will then greet you with something similar to this once loaded:
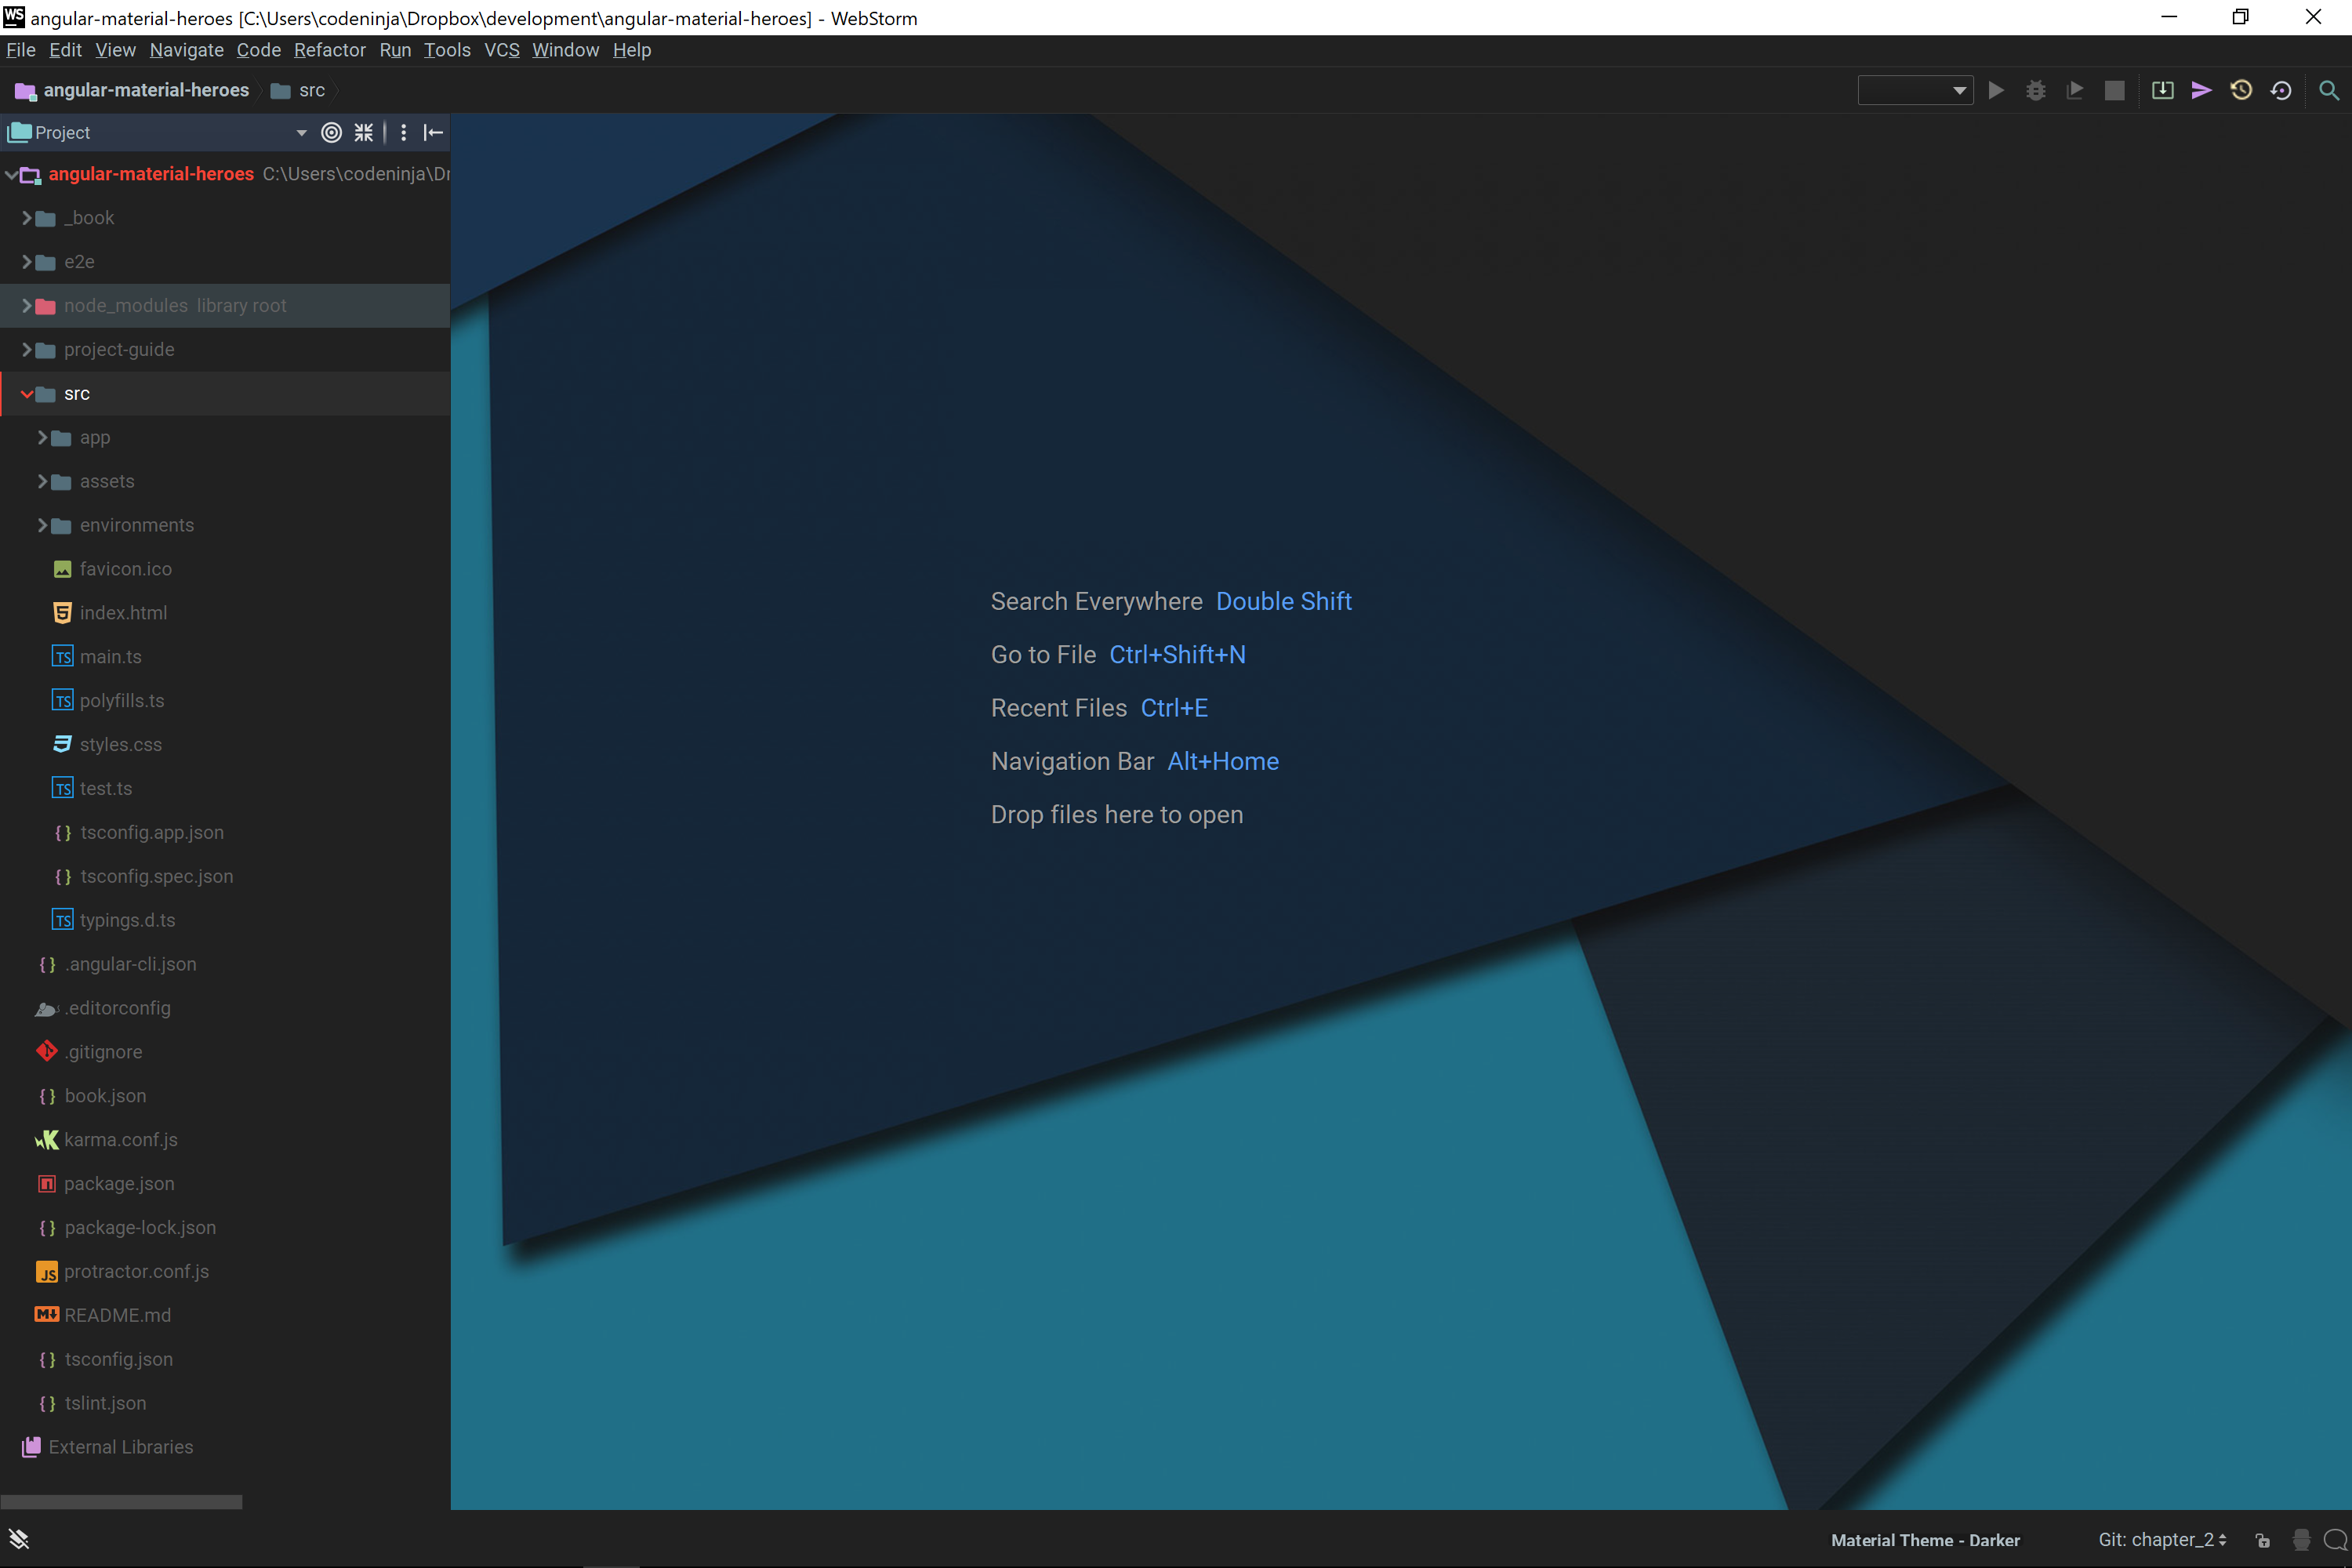
For more options on how to create projects, consult the help documentation from JetBrains [WebStorm 2017.3 Help][1].
Command line tool
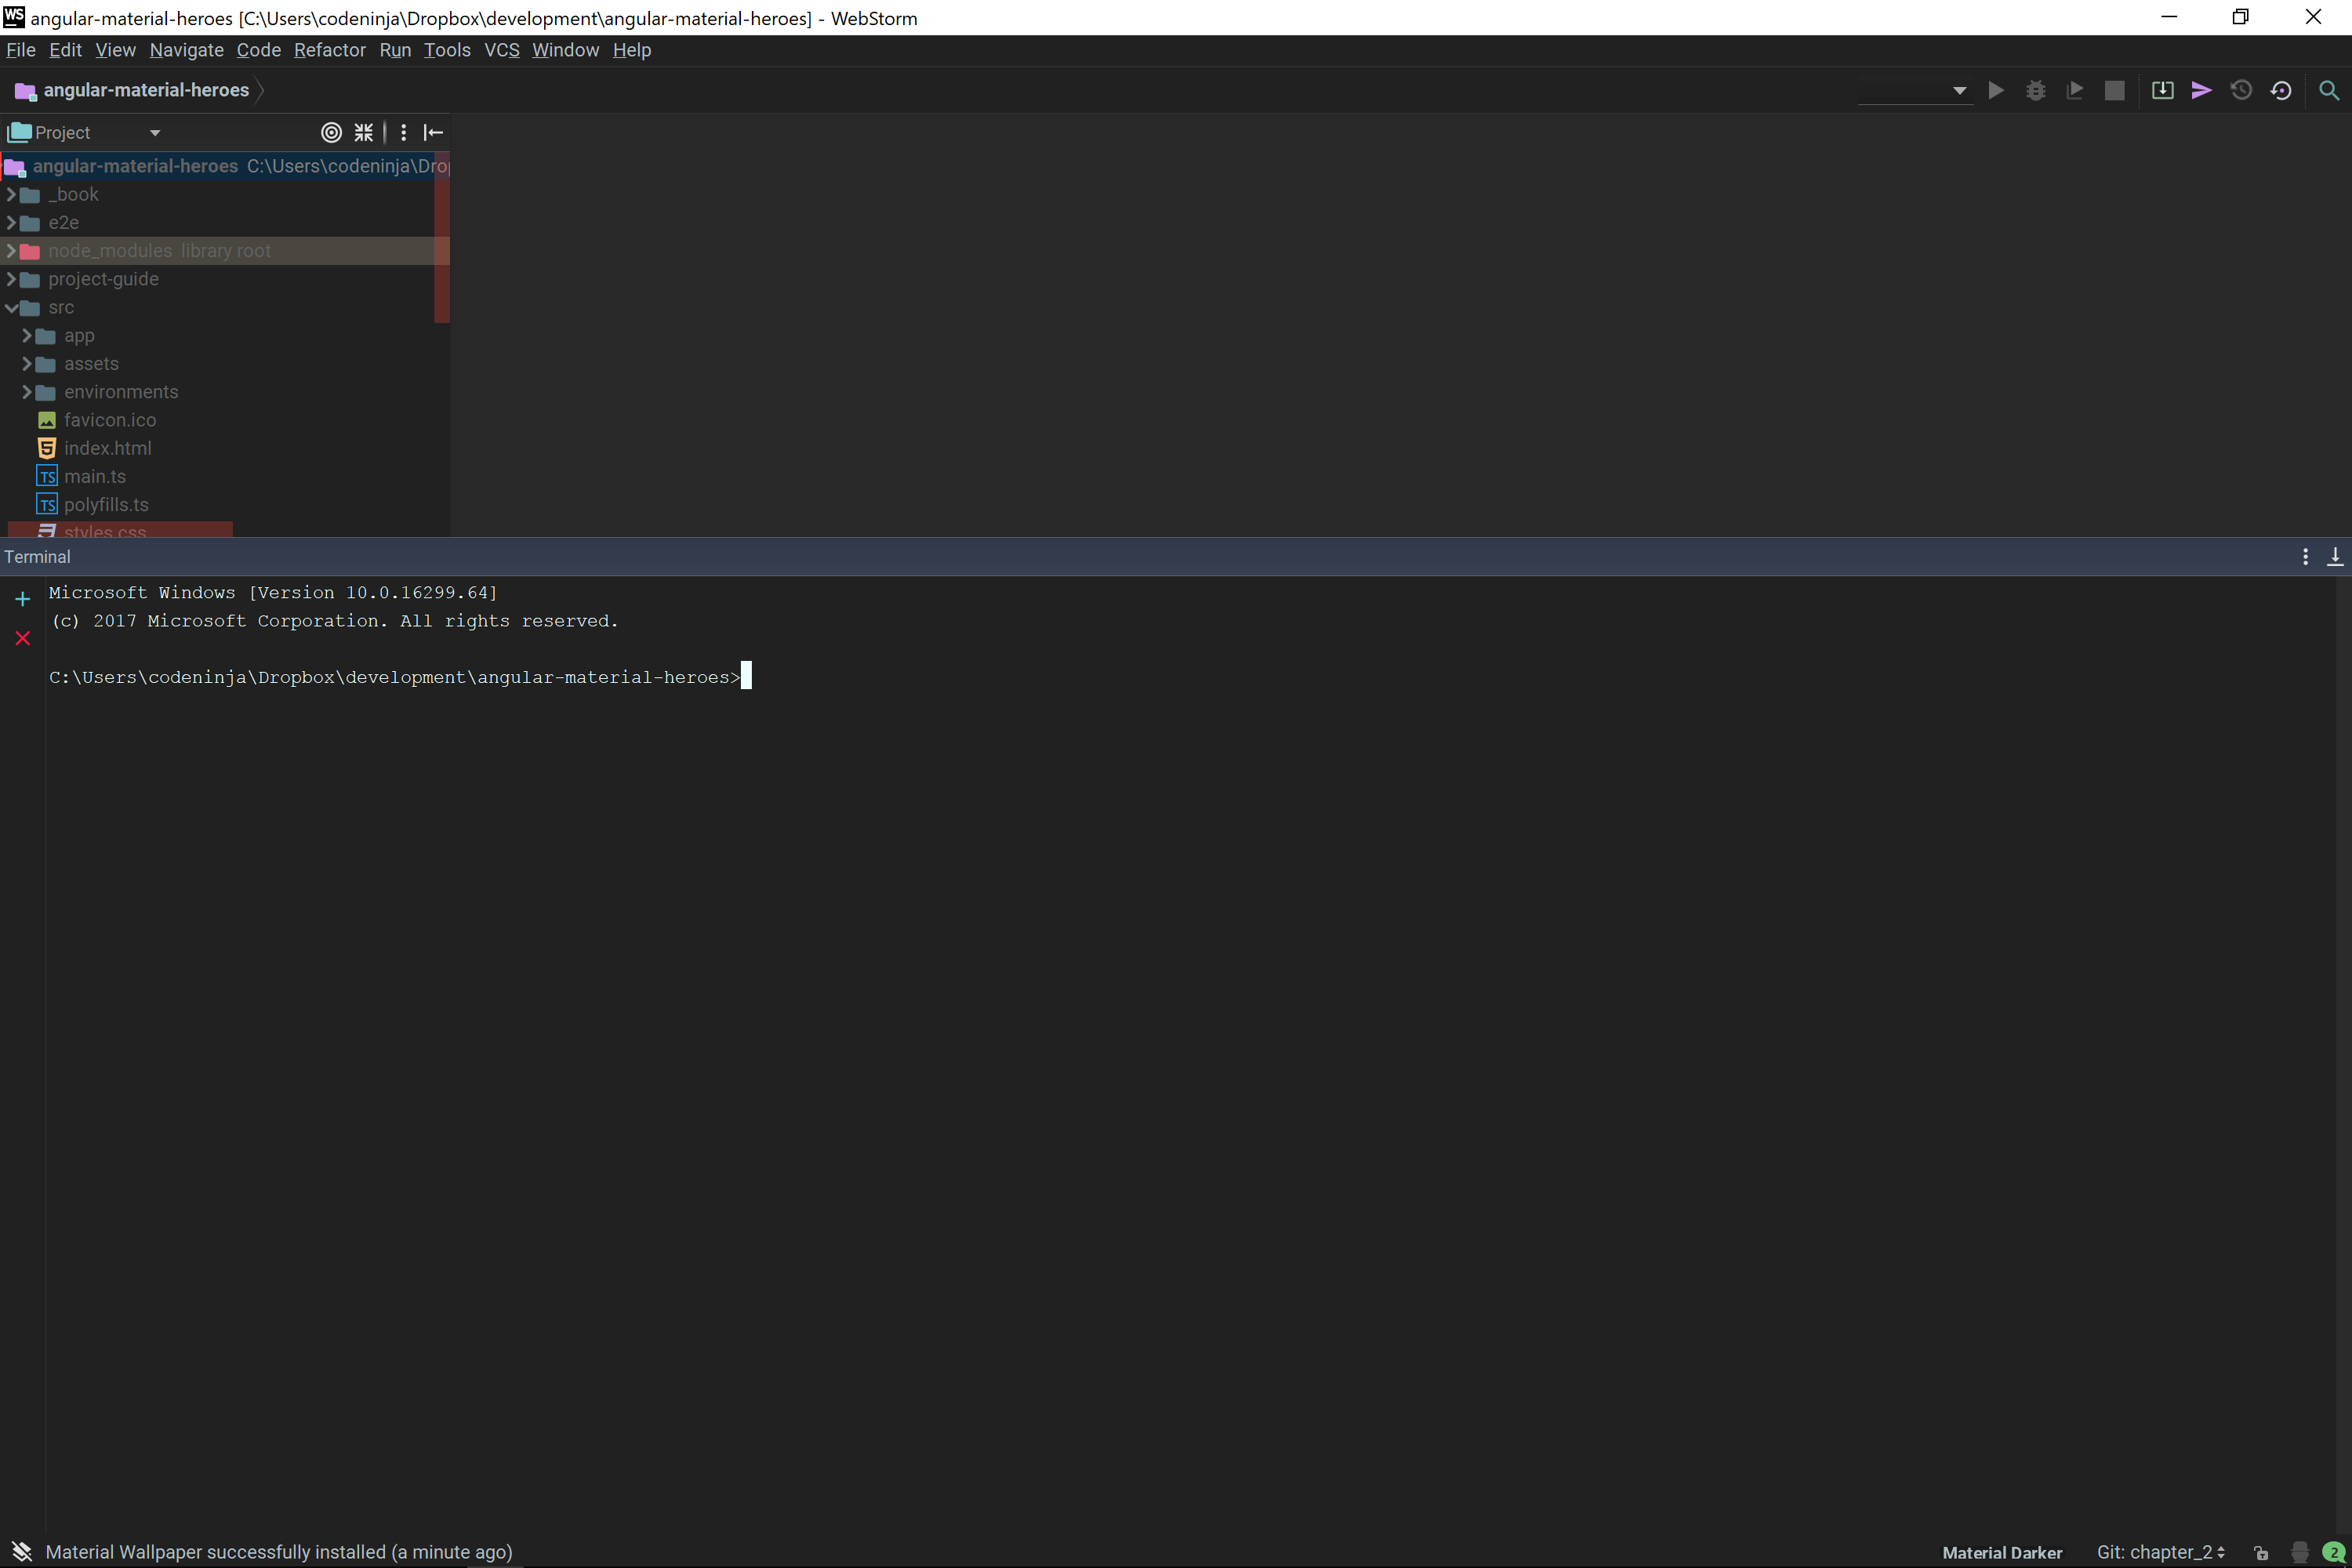
WebStorm comes with many features but one of the simplest and most convenient is the ability to use the in-built Terminal/Command line tool which connects to the local systems Windows command prompt. To open up the Terminal feature, you can either press Ctrl + F12 or go to View > Tool Windows > Terminal.
From the terminal, you can run npm and ng commands directly.
Generating Angular structures
In an Angular CLI project, you can have specific structures generated automatically.
- On the main menu, choose File > New > Angular CLI.
- In the pop-up list that opens, click the relevant type of structure.
- In the dialog box that opens, specify the name of the structure to be generated and the path to it relative to the
src/appfolder of your project. If you want to generate a structure in a separate folder, create this folder first. This does not apply to components, which are by default generated in separate folders unless the--flatoption is specified.- If necessary, specify additional options, for example,
--flatto have a new component generated directly in the specified location without creating a separate folder.
- If necessary, specify additional options, for example,
Using Angular language service
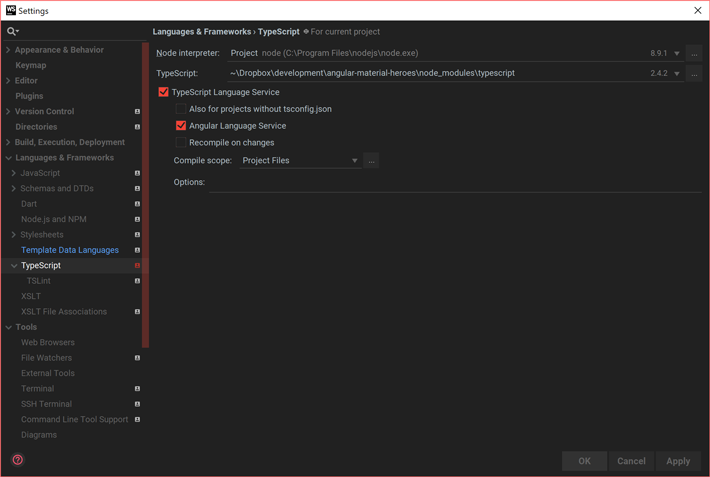
WebStorm supports integration with the Angular language service developed by the Angular team to improve code analysis and completion for Angular-TypeScript projects. Note that the Angular language service works only with the projects that use Angular 2.3.1 or higher and TypeScript version compatible with it. Also make sure you have a tsconfig.json file in your project.
To install the @angular/language-service package:
BASH Shellor WebStorm Terminal
$ npm install @angular/language-service –save-dev
The Angular language service is activated by default so WebStorm starts it automatically together with the TypeScript service and shows all the errors and warnings in your TypeScript and HTML files both in the editor and in the TypeScript Tool Window.
Using Angular Material Design components
One of the best features about WebStorm that will become very handy in this project is the ability of the editor to recognise and autocomplete Angular Material component and attributes. WebStorm automatically can do this if you have followed the steps to install Angular Material via npm.
Completion for components:

Image courtesy of [WebStorm 2017.3 Help][1].
Completion for attributes:

Image courtesy of [WebStorm 2017.3 Help][1].